This post is a continuation of my report of Convic. You can find the previous part here.
After a win and a loss with my 1000 point list, I was obviously in danger of getting comfortable with my army. So it was time to change things up a bit, and the next 2 games would be using the 1500 point list instead. More toys!
Game 3
1500 points, Dominate!
Rohan Keating, Empire of Dust
- Ahmunite Pharaoh with Boomstick
- Ahmunite Pharaoh with Wings of the Honeymaze
- Revenant Horde with Brew of Strength
- Mummy Troop
- Mummy Troop
- Enslaved Guardian Archer Horde
- Bone Giant
- Bone Dragon
Rowan had made the trip down from Sydney for the event and it was good to catch up. I preferred not to think about how he spanked me about up at Cancon, though. Time for revenge and stuff. Maybe.
On the bright side, my 1500 point list was not too dramatically different from my 1000 point one. I still had things like the Warlock and Berserker Braves, so I had at least some idea of what went where...
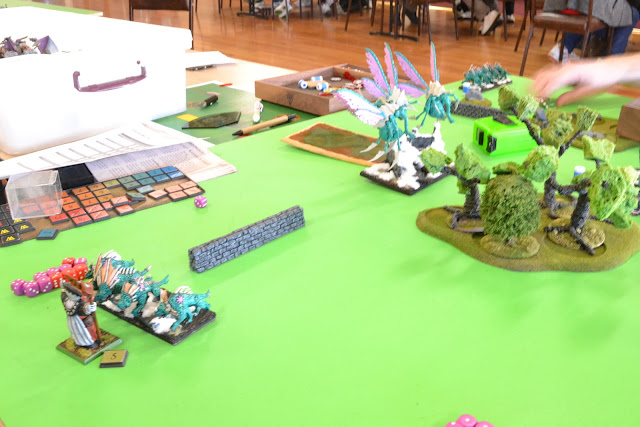
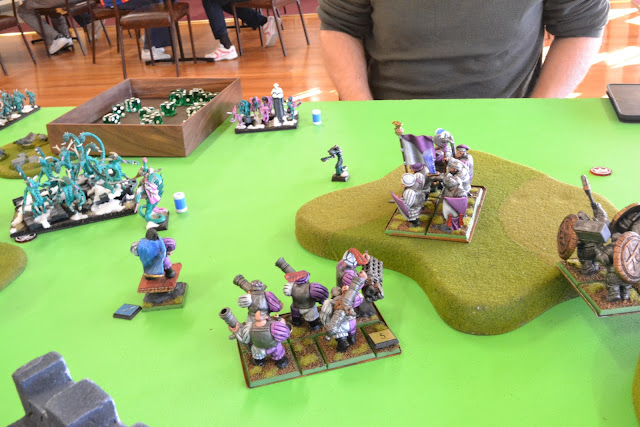
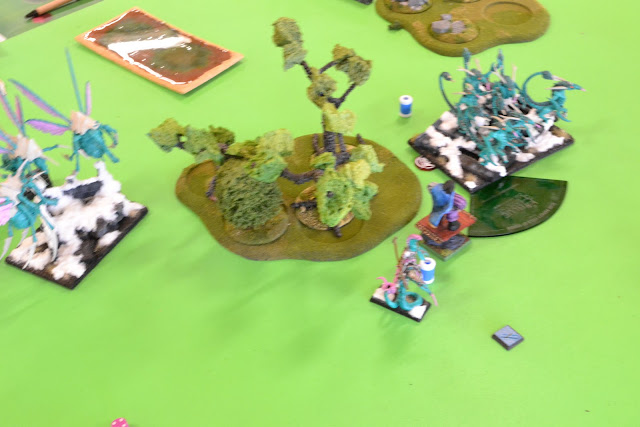
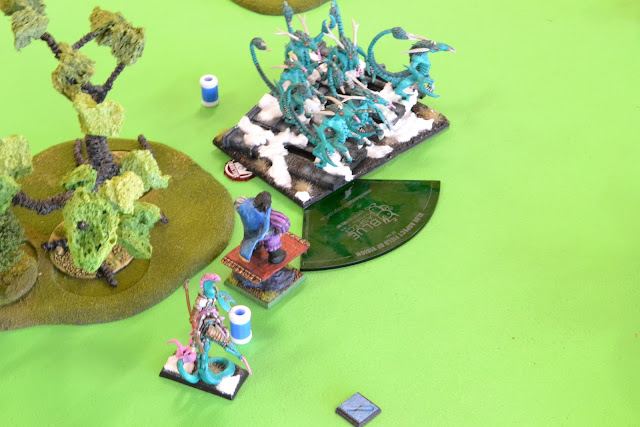
Nick came and visited the tournament in the afternoon, and ran off with my camera. Consequently I have a number of photos of people and models that have nothing to do with this game, but little in the way of the deployment on my own table.
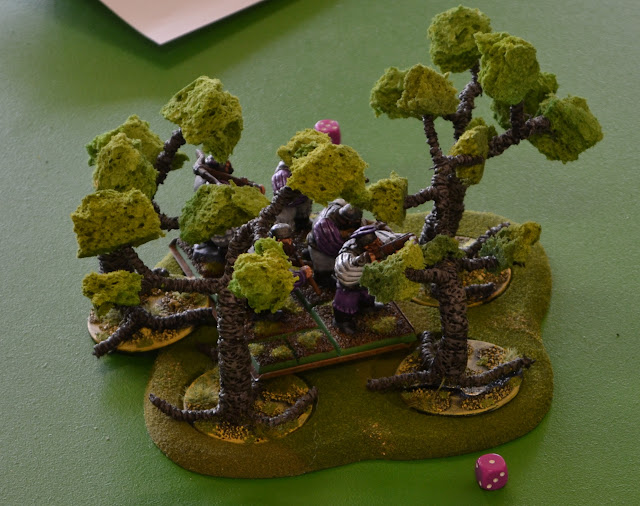 |
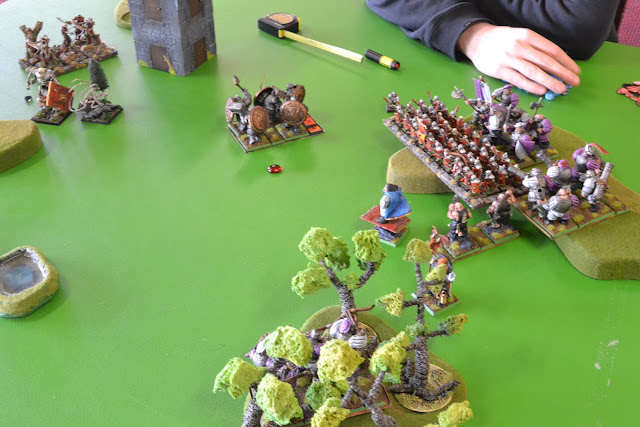
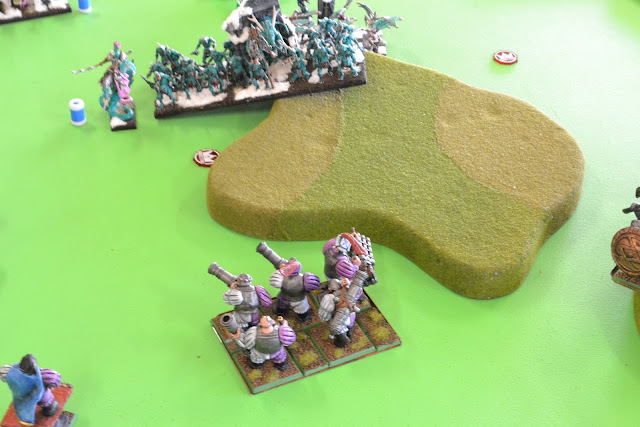
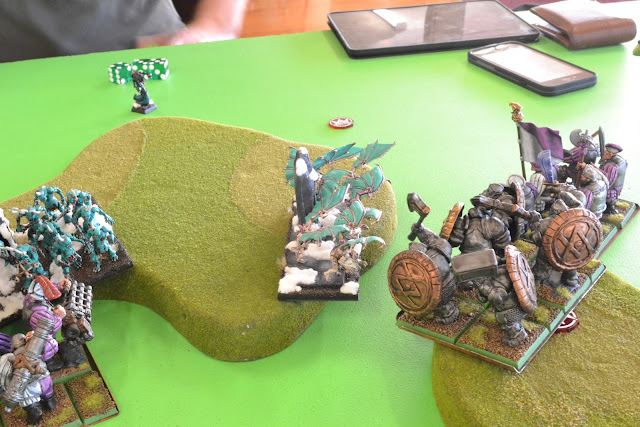
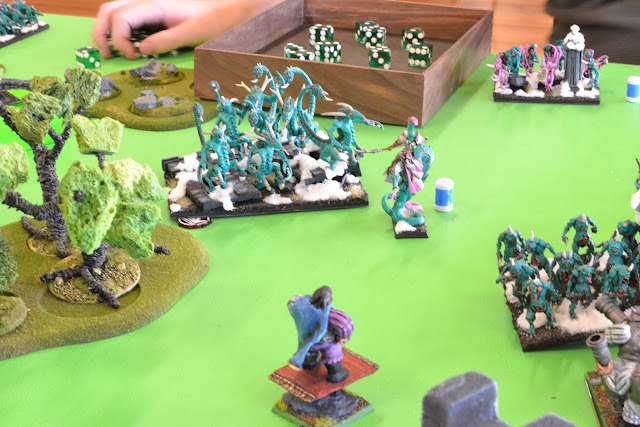
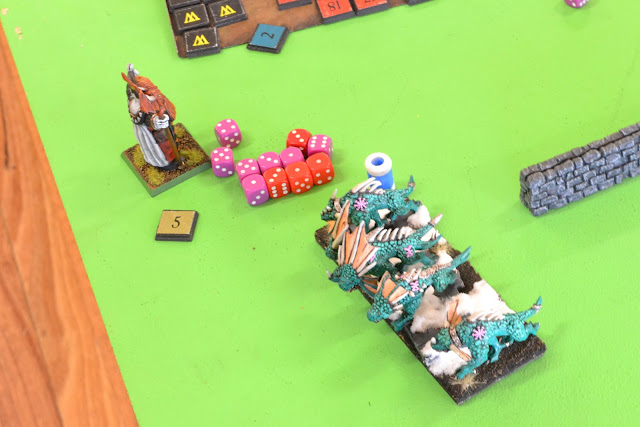
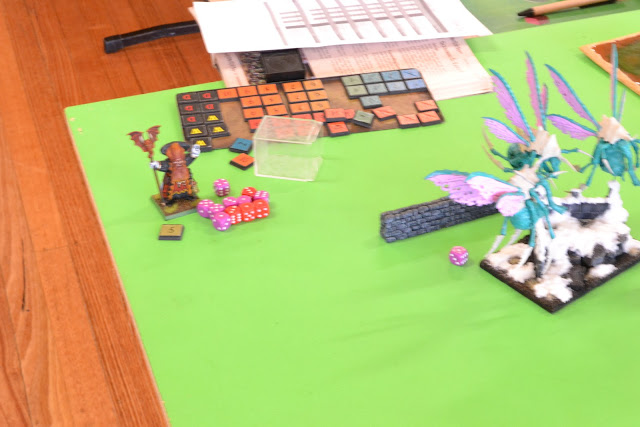
I started by deploying my Shooter horde in a forest, because it seemed like the thing to do. It had a good view of the central objective, so it was not a bad place for a move-or-fire unit. Rowan then deployed giving them nothing whatsoever to shoot at. Kill-joy.
|
 |
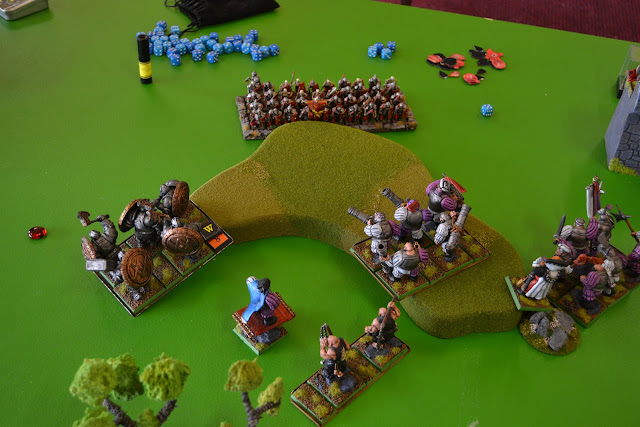
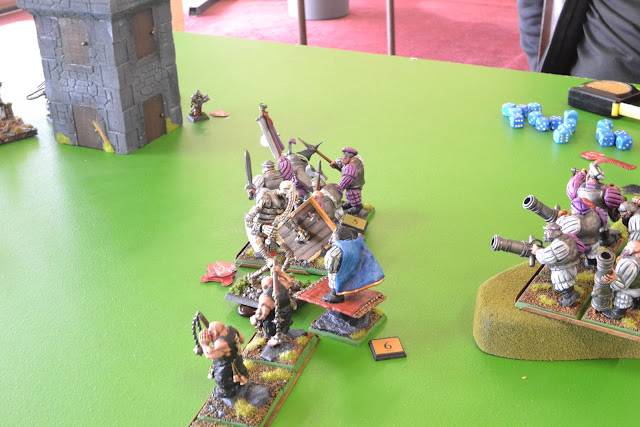
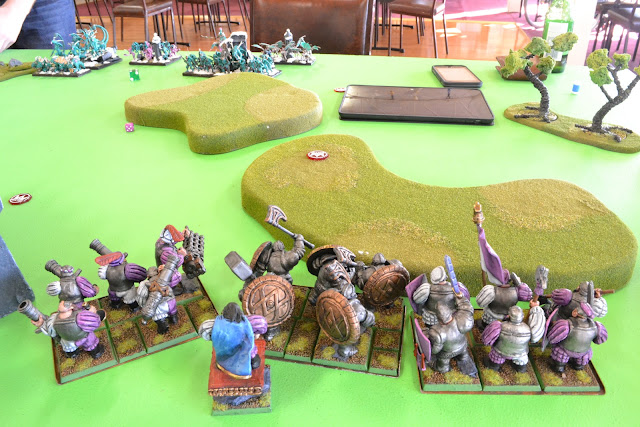
| I'm not even sure what's going on in this photo. It's possible it's turn 1, or I might not have finished deploying yet. I think it's turn 1. Anyway, this is what my army looked like. Yay! |
 |
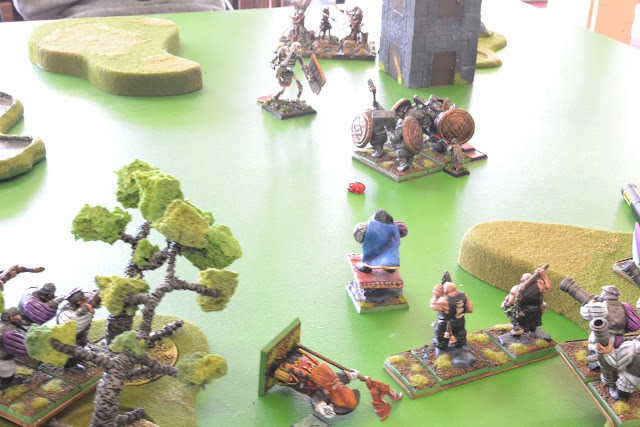
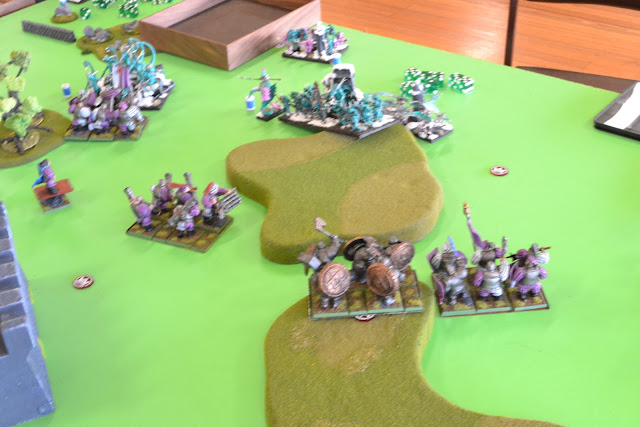
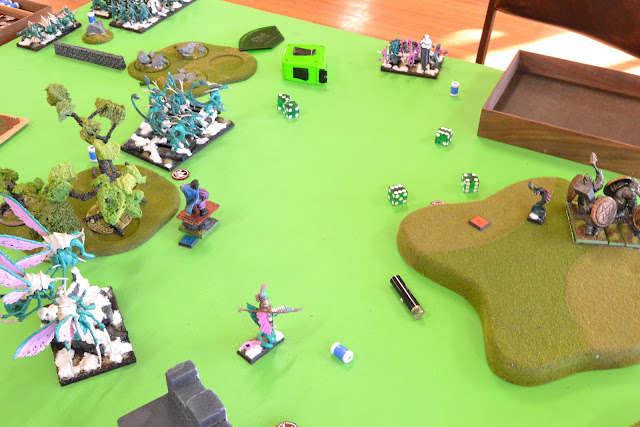
| OK, here I am definitely on the move. I think the previous picture may have been from turn 1. Because that gap next to the castle wall was previously occupied by some Mummies, and I know I shot at them twice before they vanished conveniently. |
 |
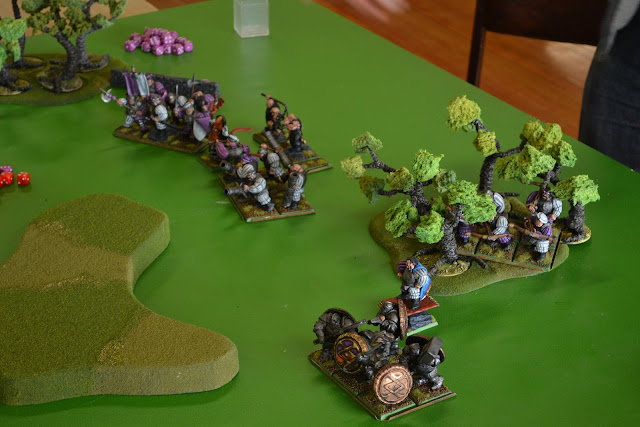
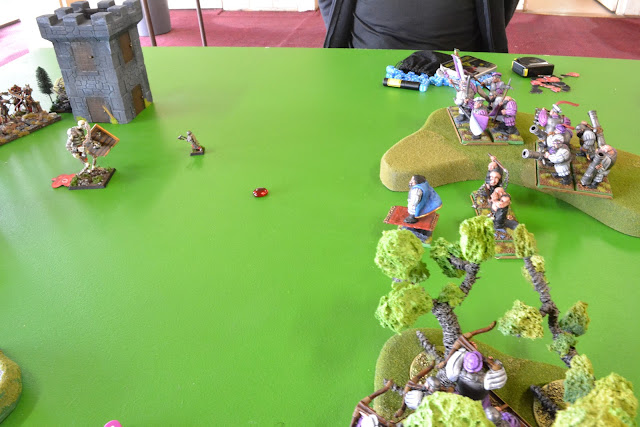
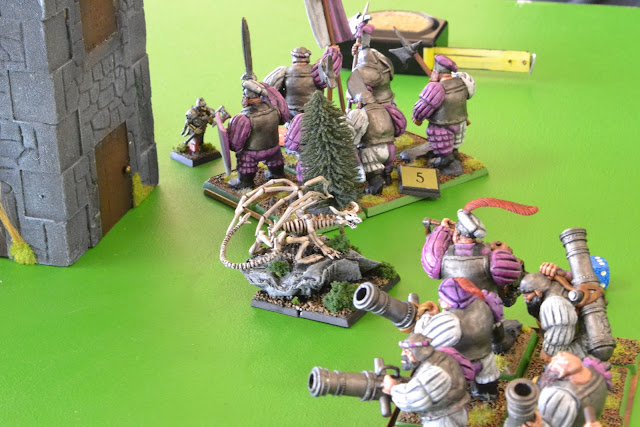
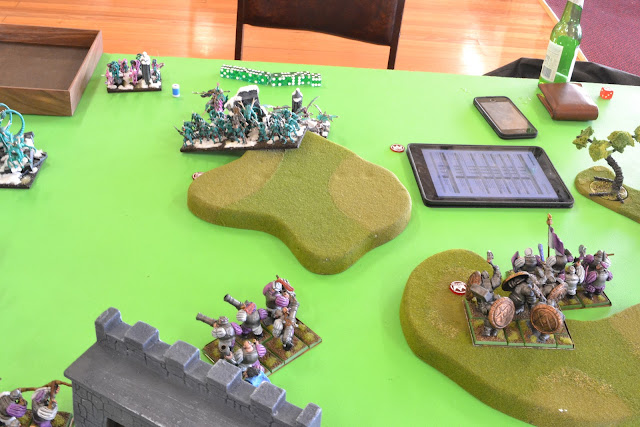
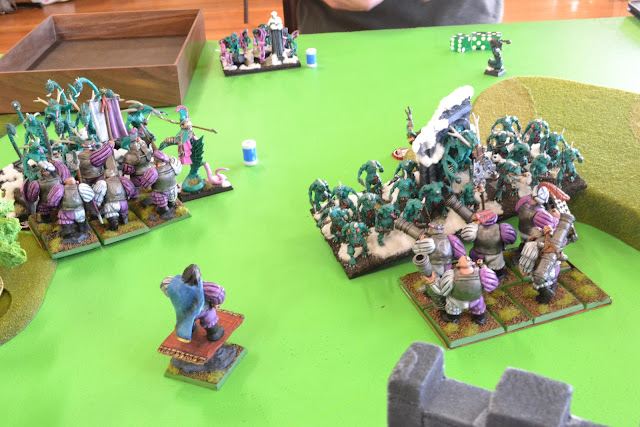
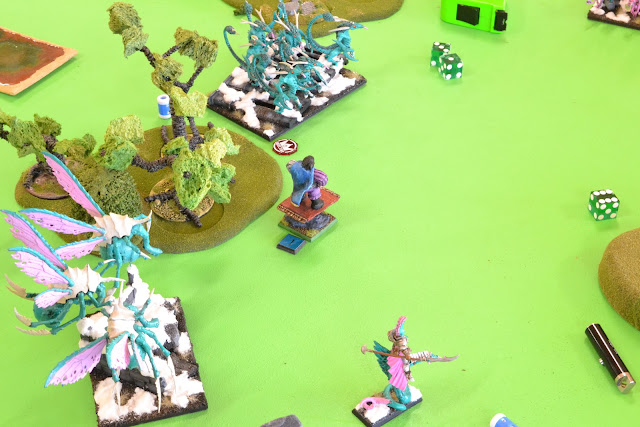
| That tower was the main reason my Shooters couldn't see any targets. The Bone Giant hid behind it, whilst the Dragon made sure it stayed out of range as it moved around the flank. I ended up playing similar silly avoidance games with the Ogre Warrior horde over on that flank - the only thing I had there, facing off with most of Rowan's better stuff. Here I am demonstrating the whole "most of the unit needs to be on the hill or you count as still hiding behind it" thing. I am hiding from Rowan's bows whilst he hides from my mine. |
Shortly after that photo, the Dragon moved up closer and Rowan was reminded just how much I was struggling to think about rules and stuff. I figured I was safe behind the hill, and was well out of range of how far the Dragon could be Surged. I was failing to take into account the fact that the Dragon was taller than the hill and could see me, and the fact that it could just charge like any other unit, travelling 20" without the aid of magic. I think I eventually twigged on the whole "regular boring old charges still apply" thing, but it was Rowan who took pity on me and reminded me that his teeny weeny Bone Dragon was in fact twice the height of the hill. At this point I decided not to expose my flank to the Dragon and did something sensible instead.
 |
| Even when I was remembering that Surge was a thing, I was still forgetting that Surge was a thing. This is me demonstrating how to get charged in the flank when your unit really doesn't like it and drops from Defence 6 to Defence 4 as a result. The waver was annoying, but I guess I deserved that. |
 |
| The unit that so nearly got flanked by the Bone Giant realised they were fast becoming trapped and couldn't back away fast enough to avoid a combination charge by the Bone Giant and Bone Dragon. So they decided to charge the Giant instead, Think happy thoughts and stuff. Forwards, not backwards! |
 |
| The Mummies that dented my Siegebreakers got shot impressively by the combined efforts of my Shooters and Boomers. Mainly the Boomers, I think. Anyway, they melted away before they could finish the job on the Siegebreakers. |
 |
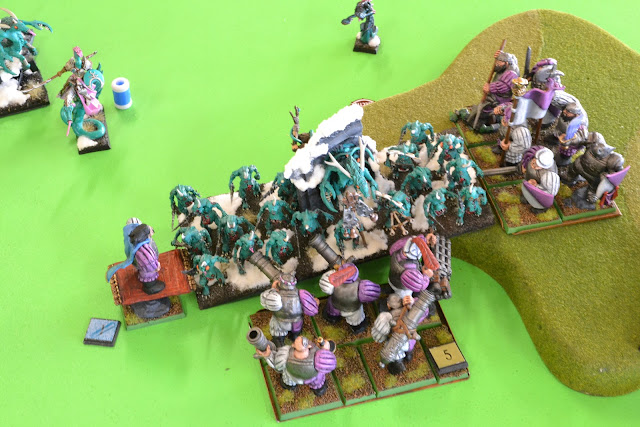
| The rest of my army moved up, achknowledging the fact that the wavering Siegebeakers were about to get smashed by the Revenants (thanks to Surge getting them over the hill), and hoping to be in position to avenge them. |
 |
| The Warriors had done a bit of damage to the Giant, but not enough to really concern him. Then my unit got pummelled by the Giant and the flank charge from the Dragon. Routing the Giant had been my only real way out of this sort of situation. I just didn't do enough damage to pull it off with a single charge. The enemy effort was better, and Rowan did indeed rout me on the first try. |
At this point the inevitable had happened, and Rowan's horde of Revenants moved up onto the hill before being Surged into the flank of the Siegebreakers. It was all sorts of bad, and the damage added up to well over my nerve value...
 |
| ...And then this happened. OK, so this was utterly bogus. I had even warned Rowan specifically not to roll a double 1 because it would be very bad. But either he did not listen, or his dice did not. |
So instead of trading the already-damaged Siegebreakers for a combined charge on what would probably have been the front of the Revenants (once the reformed), I got to charge off with the clinically dead (but fully functional) Siegebreakers and hit the Revenants with a world of hurt...
 |
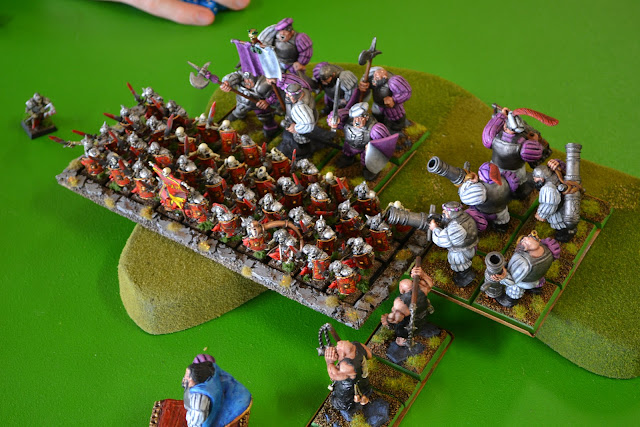
| The Siegebreakers rush off and leave the Revenants to make some new friends. |
 |
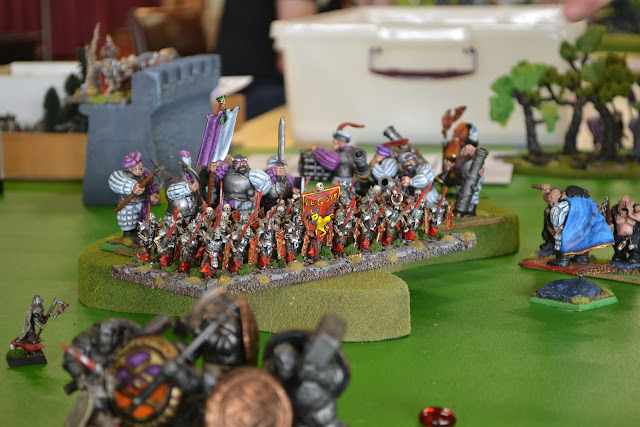
| Warrior horde to the rear, Boomer horde and Berserker regiment in the flank. It's fair to say that this was not the ideal way for Rowan's unit to face my army. It would have been justice if I had then rolled double 1s for routing the Revenants, but I didn't. |
 |
| To add insult to injury, the mostly-dead Siegebreakers were able to charge the flying Pharaoh and rout him. |
 |
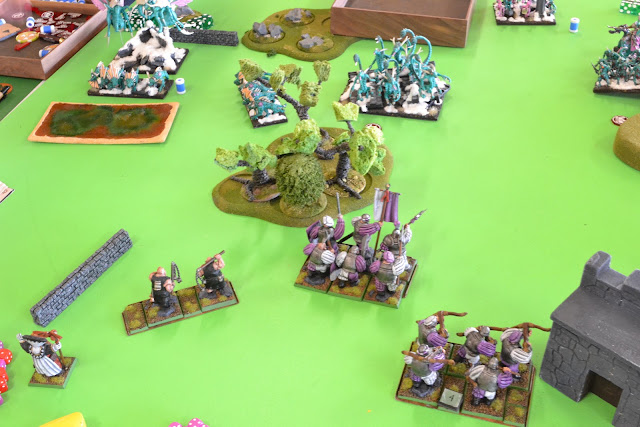
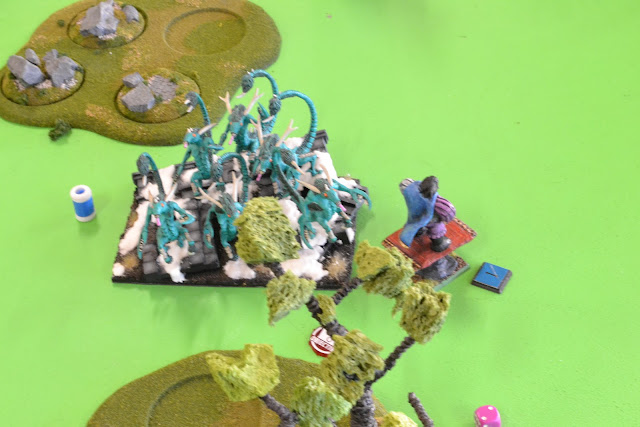
| At this point the Shooters in the trees were taking aim at the Bone Giant, who really had nowhere to hide. |
 |
| The Giant shook off the efforts of my Shooters and advanced on my army. My Warlock was not so lucky. The Enslaved Guardians way up the back there spotted him, did a few wounds, and he just keeled over. The remaining Pharaoh charged the rear of the Siegebreakers, looking to avenge his comrade. |
 |
| The Siegebreakers gone, the Pharaoh rushing on after they were gone... and suddenly it appears we are playing length-wise on the table. |
 |
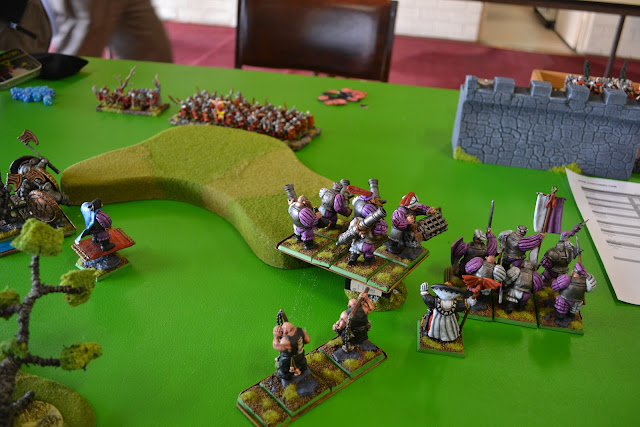
| My army moves up to shield the objective (the red dot near my Berserkers), but my Shooters still can't bring down the Giant. |
 |
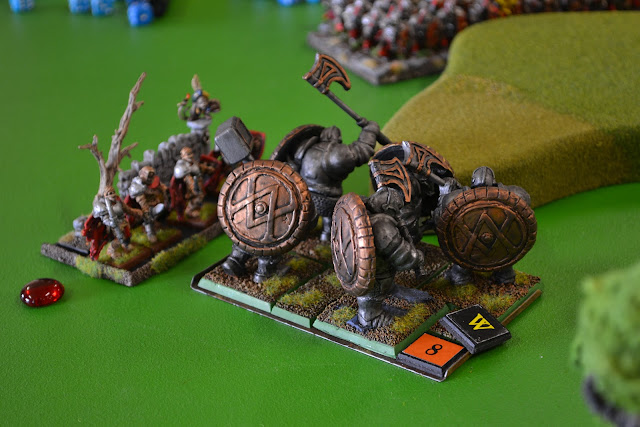
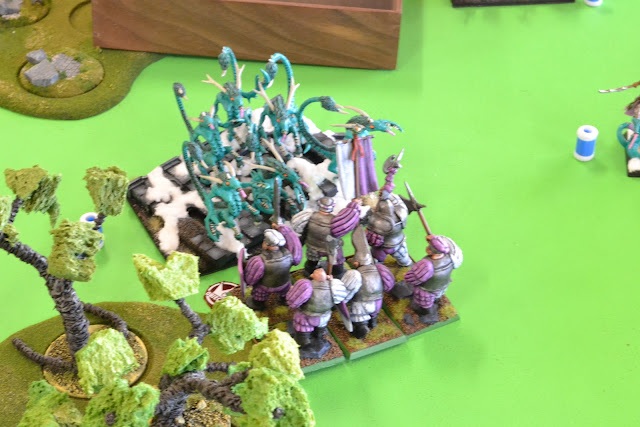
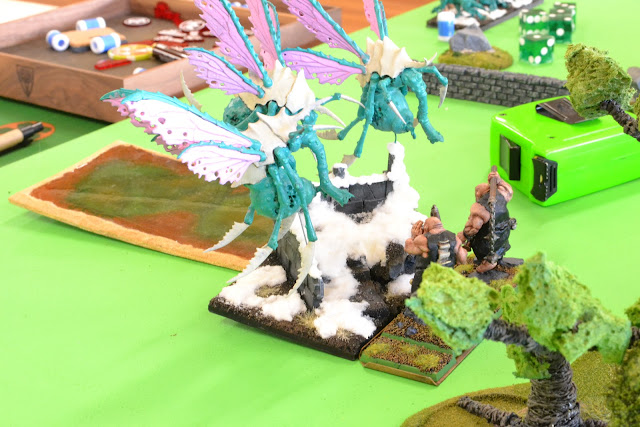
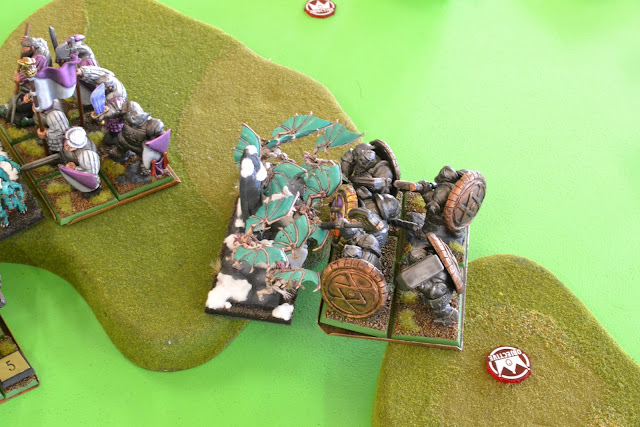
| The pesky Giant then charges my Captain, but finds he is not so easily dealt with. After this I finally got rid of the Giant. |
 |
| Rowan got up to some final mischief with the Pharaoh and Bone Dragon. I forced the Pharaoh back and tried to kill him quickly with a view to heading back into the centre if there was a turn 7, but I kind of bounced off him. The Dragon then emerged from its hiding place behind the tower and Surged into the flank of one of my units, but it was not enough to rout it. |
In the end the game was fairly heavily in my favour. This had a lot to do with the double 1s Rowan rolled on the Siegebreakers. It really sealed the fate of the Revenants (though it's possible I could have dropped them in a turn anyway), and also cost him the flying Pharaoh. In a 1500 point game that was enough to really put him on the back foot, and what damage he did from that point was trying to salvage something from a losing situation.
Result: 17-3
Game 4
1500 points, Pillage!
Spoon, Abyssals with Night Stalker allies
- Lower Abyssal Horde
- Flamebearer Regiment (Jar of the Four Winds?)
- Tortured Soul Horde
- Hellhound Troop
- Hellhound Troop
- Gargoyle Troop
- Efreet
- Abyssal Champion on Abyssal Mount with Lightning Bolt (5)
- Fiend Horde (Night Stalker allies)
2 wins in 3 games was better than I had hoped to be doing, so I was pretty happy going into round 4. Spoon was using Abyssals with Night Stalker allies - neither of which I had ever played against before. It would be a learning experience, then!
There were no doubt a couple of magic items in this list, but I don't really recall what they were. Looking at a couple of his units (in particular the Fiends and the Tortured Souls), I didn't particularly like my chances in this game. I would be out-paced and struggle to hit those things hard enough to rout them. Well, we would see. The game was Pillage, so there were a number of counters spaced around the table for us to fight over.
 |
| My left flank. Spoon put a lot more hard on this flank than I did, Effectively it would be a holding action for me over there. My Shooters were placed glaring at the Flamebearers up the back. This didn't work out for me. Spoon got the first turn and started trading shots with me. I routed before I could get a second shot off. Put that down to bad deployment on my part - no Inspiring and trading shots with something that I should have been able to out-range. I think they were one of my first deployments, and this may have been a mistake. |
 |
| Fiends behind some Hellhounds, and the characters and Gargoyles floating around behind the Lesser Abyssal horde. |
 |
| More Hellhounds and the Tortured Souls. |
 |
| This was where most of my stuff got stacked. Unsurprisingly Spoon went and put nothing directly across from all this. |
 |
| Moving, moving, moving... I've not played enough KoW to have a real feel for when to send an element into the grinder or when to hold back and claim the vital control points. Ultimately none of my lists were constructed with claiming objectives in mind, so this dilemma was predictable. |
 |
| Both Hellhound units head around wide of the trees. My Berserkers charged the nearer unit, rolled terribly and did something like 2 damage, then rolled high for the nerve and routed them anyway. Go figure. My Warlock was trying to impact the other unit with lightning (their nerve isn't that high), but couldn't do anything significant. |
 |
| Woo, some manner of success! |
 |
| Whilst the Berserkers enjoyed some success, the Warriors did not fare so well. They had to go through the forest (just), but I couldn't see any other way to delay and make some progress in damaging these Fiends. I decided it was worth a crack. Then I rolled pathetically. I did very little damage and was in no danger of routing them. So I had exposed my unit for nothing, really. |
 |
| My Boomers had a go at the Abyssal Champion, doing 5 damage or something. It was not enough to waver him, unfortunately. Then he started regenerating the damage. I wasn't really making much of a dent anywhere. |
 |
| At least my other stuff was closing in. |
 |
| This was part of why I would have liked to waver the Abyssal Champion, He swung about and helped the Fiends in their charge on my Warriors. I think I might have just been outside of Inspiring. Anyway, my unit routed immediately. |
 |
| The Boomers fared slightly better against the Lower Abyssal horde. They took some damage, but didn't waver. I think Spoon rolled a lot better in the other combat. |
 |
| Gargoyles move in to block both the units on the flank. At least, sitting down as I was, I had assumed Spoon was blocking both units. As it turned out, he had messed it up. When I stood up I realised he had only blocked the Siegebreakers. |
 |
| My Captain watches on impotently. Then gets shot a bit by the Flamebearers. Those guys are no fun. |
 |
| The Tortured Souls responded to my Berserker Braves, but being Hindered, they did almost no damage. I was very pleased. Then Spoon rolled freakishly high for the nerve test and routed me anyway. Sigh. |
 |
| My Warlock paid for his failure to lightning the Hellhounds properly, with them coming over and gnawing on his face a bit. He actually shrugged them off reasonably well, given they were also Hindered. This time I was Steady, and able to escape. |
 |
| Nooo my beautiful Warrior horde! You monsters! No wait, don't look at me like that! |
 |
| No more Berserkers. At least I still had the Warlock, I guess. |
 |
| So. This is what it looks like when your Gargoyles land in the wrong place and fail to shield the flank of your biggest unit. Silly Gargoyles. You can probably imagine how this combat went (hint: there were no Abyssals left after the nerve test). |
 |
| Having failed their one job, the Gargoyles still got smashed to a paste by the Siegebreakers. |
 |
| It's just a jump to the left. And then a step to the riiiight... |
 |
| Things look up a little with the removal of the Lower Abyssals.Unfortunately shooting then claimed the Boomers as Spoon enacted operation Dancy Dance to avoid properly engaging my units whilst smacking them about with fireballs, lightning and firebolts. |
 |
| Trying to get my stuff into an advantageous position. No longer having much shooting of my own (well any beyond the Warlock) was problematic in responding to Spoon's new approach. |
 |
| The Tortured Souls were coming to join the party. |
 |
| My Captain did well for himself. His being Nimble allowed me to keep moving him to a place where the Fiends would be Hindered if they went after him, or he was able to hide entirely. I don't think he ever came after me. |
 |
| This was unexpected. After eluding the Hellhounds for a turn, it became apparent that my Warlock would not be able to escape forever. So I bit the bullet, stood in front of them and threw a lightning bolt... And they routed! Hooray! The flank is totally mine now, Tortured Souls! Yeah, you better run! |
 |
| So the second Warrior horde was gone now too. They were just closing on the Flamebearers, but it was not to be. At this point I had 3 things left - the Siegebreakers, the Captain and the Warlock. Not really enough to win a battle. But enough to contest objectives? |
 |
| My Captain continued to elude things whilst hovering around the objective near the Fiends. It was around this point that Spoon realised he had a problem. He was having trouble pinning down my remaining stuff, and I had as many units capable of claiming the objectives as he did. He needed to kill something. |
 |
| Honestly, I don't remember what this photo was for. Behold the box!Anyway, the Siegebreakers found everything suddenly looking (and firing magic) at them, and ended up hunkering down, facing their big shields at the enemy, and backing off the hill (and onto that objective to the right of the picture). |
 |
| The dance of these 2 units was silly to watch. It ended up with no real victor. |
In the end, Spoon's Flamebearers had spent too long hanging back and shooting for them to get to an objective. The Fiends were busy contesting another with my Captain. The Tortured Souls managed to claim one, but that was offset by the one my Siegebreakers had. It was a draw. And I felt very lucky. It was a draw in terms of the objectives, but I felt like I was losing the game from the second turn onward.
Result: 10-10
So by the end of day 1, I had 2 wins, a draw and a loss. I was very pleased. Day 2 would see 3 games with proper 2000 point armies, though. It remained to be seen if my list at that size would hold up.
The final part of my report can be found here.


No comments:
Post a Comment