Well it feels like it's taken me a very long time to get here (no doubt not helped by losing a week to Diablo along the way), but my wolfish Demigryph cavalry are very nearly ready to paint. Since my last update I have finished assembling and converting the remaining riders, given them all shields, and started work on their cloaks. Pretty much all that remains now is to tidy up the cloaks around the shoulders of the models - I want them to have extra fluffy fur around the top of the cloak, and need to be sure I conceal a couple of shoulders where I was too lazy to add shoulder plates (figuring they'd just be covered anyway). So nearly there...
Getting all the riders into poses I was satisfied with was a slow and painful process. Some of them required stupid amounts of cutting and pinning, and a number of them ended up with sections just held together with wire, which I then filled in with green stuff. I think most of the poses are less than perfect, but they'll all come together OK.
The shields were also slightly problematic. I initially thought I would use the shields that came with the Space Wolves on the Thunderwolves - or rather, one shield in particular that included the traditional Space Wolf logo (rather than various strange bone-related symbols). I made a mould and gradually started to copy the shield I liked, but in the end I decided I was not satisfied and scrapped the plan. Instead, I copied the Space Wolf symbol and applied it to a group of the old lion head shields from the 6th edition Empire Spearmen (as per below). This ended up being a lot faster and I am happy enough with the result (which you can see on the models further down the post).
 |
| The lion shield from the 6th ed Speamen, and the pick of the shields from the Thunderwolf set |
My
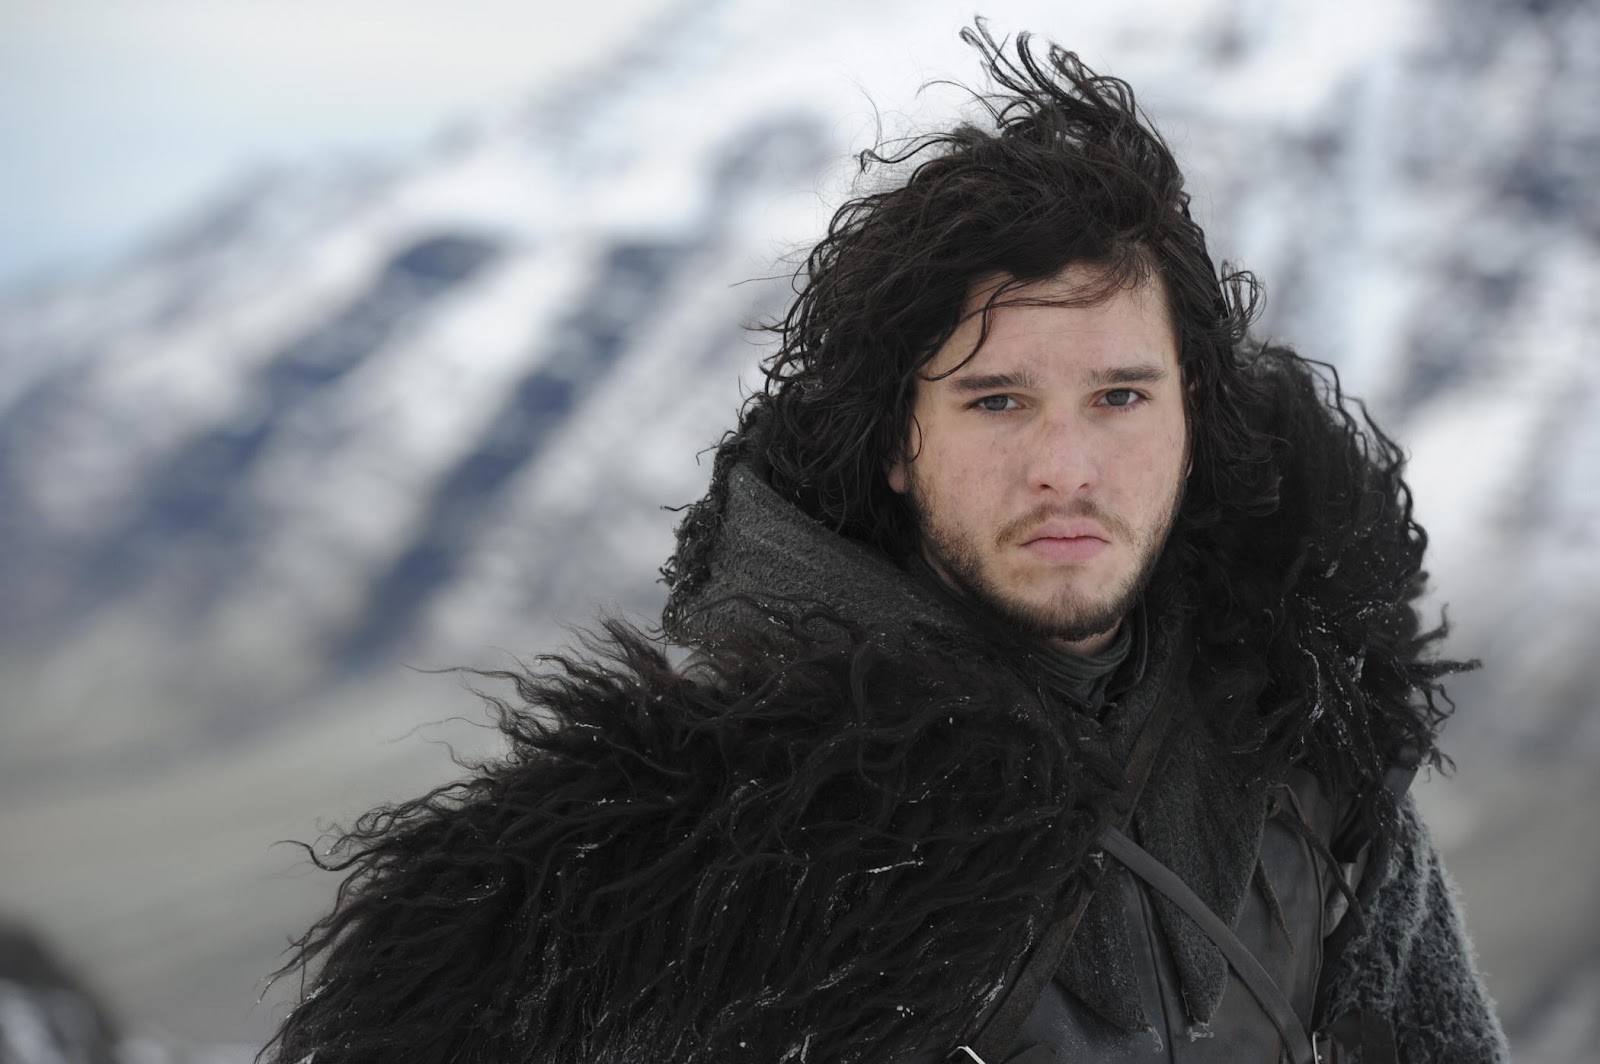
previous efforts with the Knights Snow Leopard convinced me that creating a single cloak and then copying it and draping it onto the models before the green stuff cured was the best way to go about things, so I went with that approach again. This time I intend to go through the models and add an extra fringe around the top of the cloak once the main part is cured, so that's a bit of a deviation from my other knights, but I think it should work OK. I wanted the cloaks to be heavy and furry, and tried to focus on that when I made my master cloak. I admit that I have in my head the fluffy cloaks worn by the Night's Watch in Game of Thrones, as demonstrated by Jon Snow below. A key difference will be that my cloaks are fluffy all the way down the back and lined, whereas theirs are more interested in being fluffy on the inside and have exposed hide down the back.
 |
| Jon Snow from Game of Thrones - the Night's Watch wear only the fluffiest of cloaks |
 |
| The master cloak, in all its fluffiness |
 |
| The mould from which all the other cloaks were carefully peeled before they had properly hardened |
Below are shots of each of the Wolfygryphs as they currently stand. Hopefully next time you see them, they will have some paint on them. Apologies for the shots. I'm still fiddling with the lightbox and my phone was wigging out over the brightness of it all. I'll get it right eventually...
 |
The champion from the front
|
 |
| And from the rear |
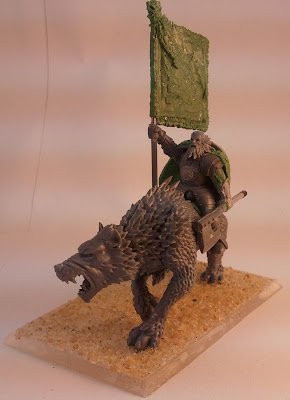 |
| The standard bearer remains one of my favourite models |
 |
| I added his shield to his back, because there was really nowhere else to put it |
 |
| The musician got his shield on the saddle |
 |
| He's one of the models most needing attention around the shoulders |
 |
| Another who got his shield on the saddle |
 |
| The same guy from the rear |
 |
| And another where the shield went on his back |
 |
| I guess I'll have to add straps somewhere to explain how it stays on... |
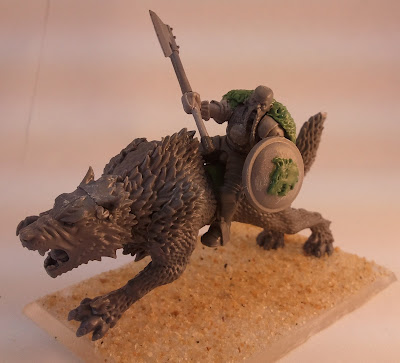 |
| I'm actually quite happy about how this guy has come out - I wasn't sure he was going to work before the shield went on |
 |
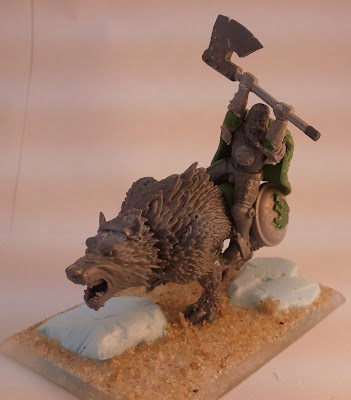
| A flappy cloak for a more dynamic pose |
 |
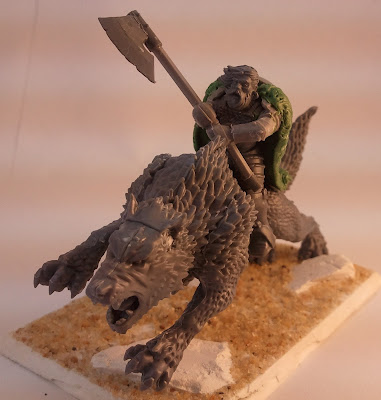
| Still not sure about this guy, but he does a good job of showing off his huge axe (which is technically a lance, but hey) |
 |
| From the rear |
 |
| One of the more relaxed poses - the unit's a bit mixed like that |
 |
| And his cloak |
As I say, hopefully it won't be too long before my next post and when it comes, I hope to be showing some painted doggies.


No comments:
Post a Comment